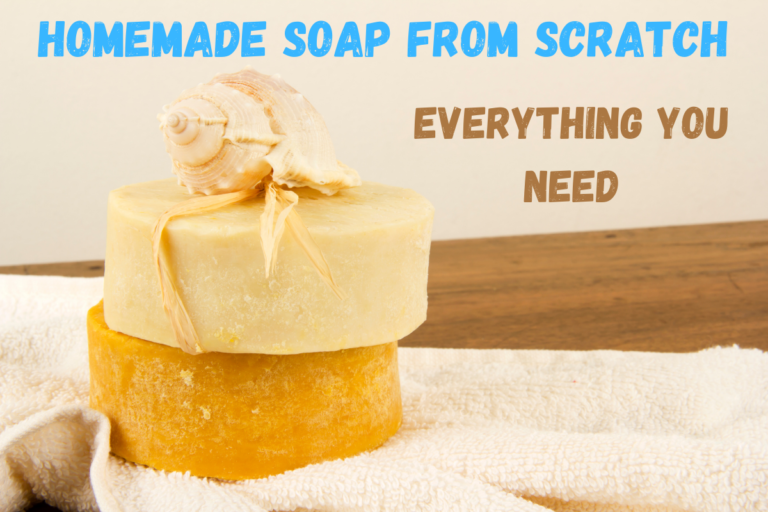
What is soap curing? 4 steps to successful homemade soap
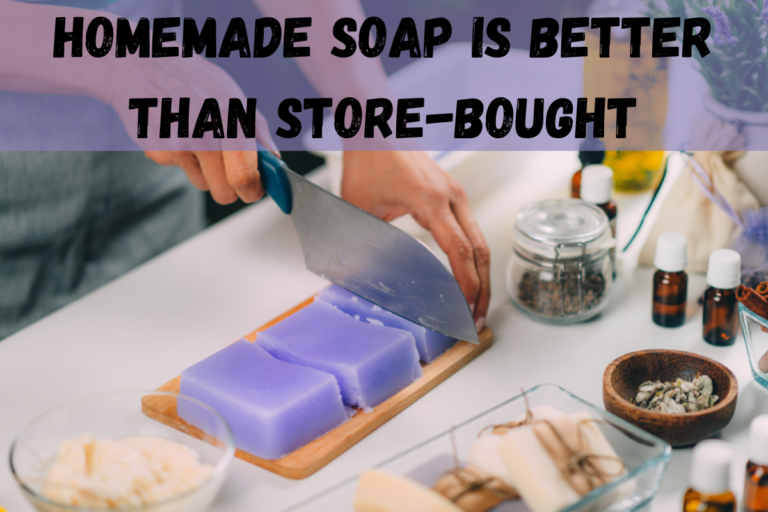
Making homemade soap is a lot of fun. It’s also really rewarding to know that you can make your own personal products for the family, and save money in the process. But before you package up your batch of uncured soap and call it done, there are some things you need to do first: curing time! So what does this mean? Why is it important? And what happens if we don’t wait long enough? In this blog post, I’ll walk through 4 steps to successful homemade soap-making success.
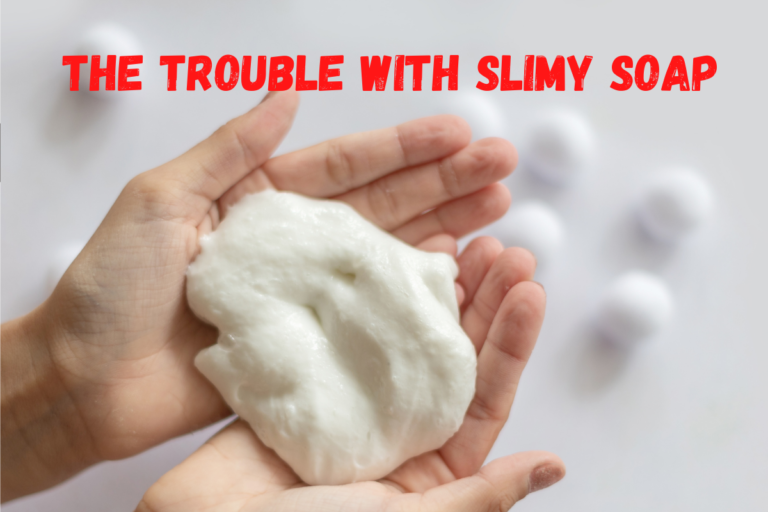
Curing soap for at least 4-6 weeks, allows the water content to evaporate off and create a crystal structure to make the soap good quality. Post saponification, the water needs to sweat out to prevent slimy, or worse, moldy soap
Understanding what happens when you are not curing your soap after the saponification process is an important thing as a soap maker, and not doing so properly usually leads many people to have constant soap-making woes. There are several things that you need to know and remember about soap curing, some of which are the most important parts of making soap. Each part of the curing process needs to be understood and many people will not always have the perfect setup to remove the excess moisture.
What happens if you do not cure for the full 4 weeks?
The moisture in your handmade soap needs to evaporate, this is the moisture from the oils, the lye solution, and the excess water content that all needs to entirely evaporate from your soap before you can easily use them. This evaporation needs to take place in the soap during cure times, whether you are making hot process or cold process soap.
Many times, when a soap mixture turns out bad it is completely because the curing process was done wrong, or there was simply too much moisture in the curing area. As the moisture does not evaporate safely it can form pockets in the structure of soap, and once the soap is being sued the bath soap can be crumbly, slimy, or too oily.
The period of 4 weeks is the absolute minimum at which the curing can take place in if you are using more oils or fragrances you may need to wait even longer. Recipes that call for more than two teaspoons of oil [possibly olive oil] requiring up to six weeks of curing, with the curing process requiring that you keep the air in the chamber constantly moving.
3 conditions to cause a curing fail
If you are getting ready to create your first batch of homemade soap you may want to create the area in which they have to cure first. Doing so will mean that you do not need to scramble to find the perfect place, or that you are stressing the entire time as the curing is taking place. Most regular soap recipe makers have a section of their house where they know the humidity is safely controlled and good to go.
It is important to remember these three things as you choose your curing location, as the influence from them will decide how well your curing goes. Many people assume that all they need to do is have the bar of soap in a sunny location and leave them be for the entirety of the time they are curing. Three things can make your curing process not only be ineffective but actively helping to cause your batches of soaps to become failures.
Humidity:
This is the biggest cause of your handcrafted soaps failing, and humidity can be affected by people living in a room, a shower close to the curing area, or even a cloudy day. Rainy days, cooking foods, or just when you are watering plants nearby can cause the humidity in a home to spike massively. If your soap bars are not protected from these spikes in humidity then they will become a failure.
Temperatures:
The temperatures for your home will always constantly fluctuate, and barring a fire, the house will never reach such a high temperature that the soap will start to melt. However, your soap should never reach any temperature close to freezing, as this will cause the moisture inside to become solid and freeze, stopping it from evaporating as you need it to.
Sunlight:
Sunlight is not a friend as the temperatures of your home may not reach a melting point, focused sunlight can easily cause the soap to melt while it is curing. This creates moisture pockets, causes the soap to lose its shape, and can cause the soap to discolor as the UV rays react with the top layers of the soap.
5 conditions that are needed to cure soap?
Knowing what can cause the soap to cure improperly won’t help you to build the perfect place for the soaps to cure throughout their curing process. Many times, people build basic curing areas and hope that they can just leave the soaps to be, however, this usually causes that the soaps to end up going bad.
Creating a curing station can be quite involved and may be the one place during the soap-making process that you are required to spend some more money than you planned. Fortunately, once you have a good curing location built it becomes quite easy to use as you never really need to make any changes to it. Having a combination of these things working together will ensure that your soaps can turn out just as you planned each time.
Curing the bars of soap will also reduce the weight.
1. Low Humidity:
If you have a room that you know is never used or a closet that you have sealed with linens and other stuff, then that will be a low humidity location. These are locations that will easily not have a high humid level because the doors can be kept closed, and few people ever go there to cause humidity levels to rise.
2. Zeolite:
If you are using a container to cure your soaps then using zeolite rocks will make a fantastic difference and may be the only thing you need to add. Zeolite rocks naturally absorb moisture from the air and as the soaps are losing their humidity the rocks will soak it all up, preventing the humidity levels to rise beyond control.
3. Fans:
Another good addition to a room or a container is to have a system of fans that ensure there is constantly moving air. This is best if you know you live somewhere it is extremely humid, as the moving air will usually be a lot drier and as it moves across the soaps. This removes the moisture from the soaps and moves it somewhere else.
4. Less Water:
A good way to ensure that your soaps will cure properly is to use less water when mixing the soaps, with many people purposefully omitting a bit to create the best soaps they can. However, a good way to remove the water content from the ingredients, before adding the oils, is to have it set a bit in the melting pot, this drains the moisture from the fats and lye, creating a drier soap overall.
5. Heaters:
If you can afford it, heaters are a great way to absorb all possible water from the air in any given room. However, keeping a heater on for one month can be expensive, as if you are doing this you should use a heater that you already need to keep a room warm. This sucks up moisture from the soaps and the air.
Conclusion
Your soap needs a typical cure time of four weeks to ensure that there is no more moisture in them, this creates that soap texture that you know and love for your skin. If not cured for 4 weeks or more the soap will become slimy and unusable, entirely wasteful, and may require that you remelt them in hopes of curing them right the next time. Do not use a shorter curing time to cut corners.
Whatever you do, please don’t think you’re going to cure the soap by placing them in the oven, you’ll only get a few flat, slimy soap cakes!