Soapmaking for Beginners: Hot or Cold Process?
Have you ever thought about making your very own homemade soap? If so, then there’s a lot to consider, and this could influence your final decision overall. However, the differences here may now always be wholly apparent. With this in mind, today, we’re looking at some of the key things you need to know before you get started with hot vs. cold soapmaking – and critically, whether hot process or cold process soap might suit you better as a beginner.
What is Soapmaking and Why Should You Do It At Home?
Before we go any further, the first question we need to tackle is: what is soapmaking, and why should you do it at home? Soapmaking is a surprisingly simple process, but one that many people overlook.
Indeed, it’s often easy to just buy a bar or bottle of soap from the shop when it comes to soap. Still, you can make your very own homemade soap with surprisingly little pain. What’s more, when you make your own homemade DIY soap, you can also ensure you have the highest quality ingredients to hand. Using organic olive oil, for example, can be an excellent way to kickstart your soapmaking.
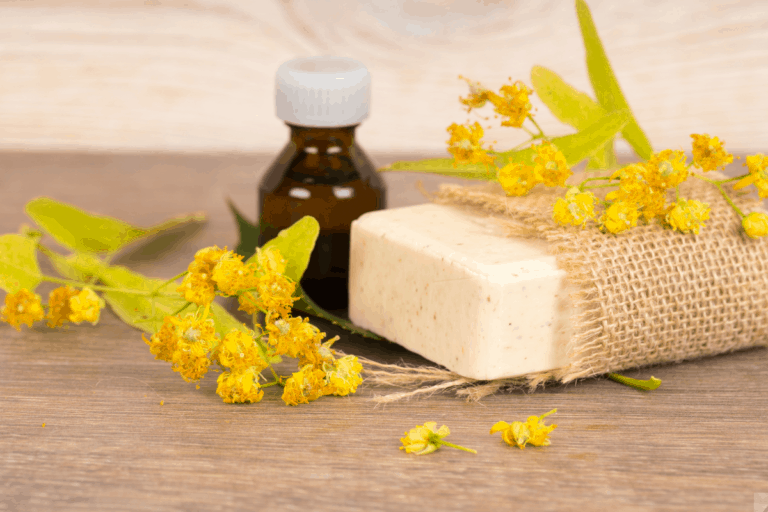
Plus, you can also choose exactly the essential oil combinations that you enjoy most of all, helping ensure you’re getting excellent results from every bar. And, of course, it’s simply great fun as well.
How to Make Soap Using the Hot Process
First, we should consider how to make soap using the hot process. The hot process is typically a much quicker-to-finish soapmaking method and may also be simpler to control in some cases. When following recipes like the one we’ve outlined below briefly, you can even make homemade soap in a crockpot for your own use! And typically, once made, hot process soap often also lasts longer and is more rustic in texture.
Making soap using the hot process is surprisingly simple. You’ll need around 30 oz of oil of your choice and 9 oz of distilled water, and 4.78 oz of pure lye. Ensure all of your oils are liquid before warming gently in a crockpot. Add the lye directly to the water (not the other way around) in a well-ventilated area, and stir continually. Finally, mix the lye mixture into the heated oils, and wait for it to begin tracing (when a drizzle holds its shape). Then, all you need to do is set the mixture to cook on low for around fifty minutes, and just keep an eye to ensure it doesn’t bubble over. Then, simply press the mixture into the molds and leave to set over the next twelve to twenty-four hours.
At this point, you’ll then want to consider the most suitable waiting times before you begin using your new bar of soap. Many people, for example, assume that hot process soap doesn’t need to be cured at all. This is partially true. However, for a more solid and longer-lasting bar, it’s often recommended to leave it for around a week.
How to Make Soap Using the Cold Process
If you would rather have high-quality, organic soap, there’s a lot to be said for cold process soaps. However, it’s so important to consider that you’ll need ample time and storage space for cold soapmaking, as the soap will need to cure before you can begin using it.
In many cases, making soap with the cold process is quite straightforward. First, create the lye water by dissolving crystals of sodium hydroxide in water; this process causes strong fumes, so it’s important not to breathe these in. Then, melt 205g of solid oils and, once cool, add these to 250g of liquid oils (we recommend using olive oil here).
Now comes the careful part – monitoring the temperatures of the lye and the oil mixture. Ensuring that your lye and oils are around 95 to 100 degrees Fahrenheit is ideal here; then, using a sieve to capture any undissolved remaining lye, add the lye solution to the mixture of oils. Then, blend and stir the mixture until it forms a thin custard-like texture and a trail remains on the surface of the mix.
Now, simply pour the mixture into the mold and allow the mix to refrigerate overnight. Then, remove the mold from the refrigerator and, after a total of 48 hours, cut it into bars. Finally, cure the bars for around 28 days, which should provide a shelf-life of up to 28 days. Leave the bars outside of direct sunlight but in a well-aired area so that any excess moisture evaporates quickly.
Which Process is Best for Beginners?
It’s hard to say whether cold or hot processes are better for beginners. Indeed, this may often depend on personal preference. However, most beginners will usually prefer a hot process since there’s no long-term curing required. We should note as well that cold process soapmaking also requires suitable curing facilities to ensure it works.
How to Customize Your Soaps for your Own Needs
At this point, we have considered some of the key things you should know about making your own homemade soaps. However, did you know that you can customize your soaps by using natural colorings and ingredients or adding your own unique combination of essential oils? It’s entirely up to you. Or, why not use unique molds to create stunning designs for your homemade soaps overall?
Tips and Tricks for Perfect Soap Every Time
Getting perfect soap every time can seem challenging. However, some simple tricks for perfect soap every time include the following:
- Invest in the most accurate scales possible to ensure you’re carefully weighing out each ingredient and not overusing one particular ingredient
- Choose premium-quality, 100% pure olive oils for high-quality soaps
- Ensure you’ve got ample safety equipment for your soapmaking activities, so there’s no need to worry when making soaps
- Always take your time with every step to ensure you’ve not forgotten or rushed anything
Final Thoughts
If you have been looking to try making your own homemade soaps, it’s first important to consider the hot process vs. cold process and how this might differentiate the final properties in your soap. As such, if you need any further information or ideas on soapmaking and whether hot process or cold process soap might be more suitable, contact our experts today, and we’ll do our best to help.