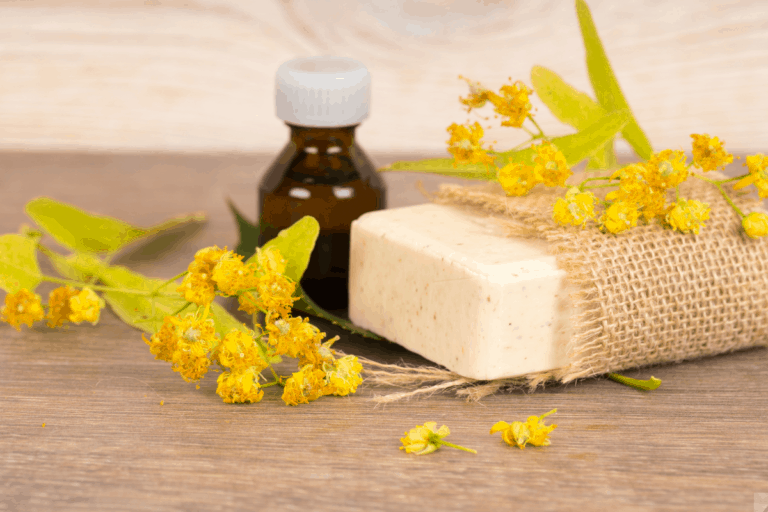
How to Properly Clean Soap Molds
If you’re a soap maker, then you know that proper mold care is essential for producing high-quality bars of soap. Not cleaning your molds properly can lead to all sorts of problems, such as bacteria growth, poor product quality, and even ruined molds. In this article, we will teach you the best way to clean plastic and silicone soap molds safely and effectively.
If you are just looking into making soap for your own use or to start a small business, then these cleaning tips are going to be a lot of help.
How to clean plastic soap molds
Wash all plastic and silicone soap molds with warm soapy water, then wipe everything down with rubbing alcohol or a bleach solution to sanitize it. When you’re done making your soap, clean up quickly so that you don’t have to worry about bacteria growth and inferior results when you make the next batch.
I can’t stress enough the importance of keeping your mold in the very best condition that you can to ensure you get the best results when making your soap at home. Leaving them dirty or with product still on will affect the finish of the next batch and make them less attractive, or valuable if you are planning to sell your soap.
1. What you’ll need
- Warm soapy water
- Rubbing alcohol or bleach solution
- Clean cloths
- Glass jar or bowl (for mixing the bleach solution)
- Rubber gloves (optional but recommended)
2. How to clean the molds
The best way to clean silicone soap molds is by using a mixture of hot water and dishwashing liquid. The heat will help to loosen any residue or product that may be stuck on the mold, while the dishwashing liquid will help to cut through any grease or oils.
Once you have mixed up your cleaning solution, simply submerge the mold in it and let it soak for a few minutes. Then use a soft brush (or your fingers if you’re wearing rubber gloves) to scrub away any remaining residue.
Rinse the mold with clean water and let it air dry before using it again.
As you can see, cleaning soap molds is a pretty simple process that doesn’t require any special equipment or cleaners. Just a little bit of elbow grease and you’ll have your molds looking like new in no time! Thanks for reading and happy soap making!
3. Step by Step Guide
Let’s take a closer look at each process in more detail
Create a Soaking Solution
The first step is to fill your mold with water and allow it to sit overnight. This allows any air bubbles to rise to the top and out of your soap. Next, remove the soap from the mold and cut off the excess. Now, it’s time to add your lye solution. Lye is a caustic chemical that reacts with water to produce sodium hydroxide (lye). Add 1/4 cup of lye per gallon of water, and stir thoroughly. Let the mixture sit for at least 15 minutes before adding the oils.
Add the Silicone to the Soaking Solution
The silicone mold should be soaked in warm water (not hot) for at least 30 minutes before washing. This allows it to soften and become pliable enough so that it can be removed from the mold easily. After soaking, rinse the mold thoroughly under running water.
Scrub the Silicone
The first step to cleaning silicone molds is to remove any excess water from them using a paper towel. Then, spray the surface of the mold with rubbing alcohol, wipe it off again, and let it dry completely. This process should take around 30 minutes. Afterward, apply some dishwashing liquid to the mold and rub it gently with a soft cloth. Rinse the mold thoroughly with warm water and repeat the process if necessary.
Warning
Soap molds are made of silicone or polypropylene, which are both nonporous materials. This means that they don’t absorb any moisture from the soap solution, so it’s important to keep them well ventilated and dry. Moldy soap can cause soap scum buildup, which leads to unsightly soap bars. To prevent this, you’ll want to regularly wipe down your soap molds with a damp cloth or paper towel.
4. How often to clean the molds
So how often should you clean your soap molds? The answer to this question will depend on how often you use them and what kind of materials they are made out of. If you only use your molds once a week or so, then a simple cleaning with warm soapy water after each use should suffice. However, if you use them more frequently, you may want to give them a deeper cleaning with bleach or rubbing alcohol every few uses.
No matter how often you clean your molds, it’s always a good idea to give them a thorough inspection before each use. This way you can catch any potential problems early on and avoid ruining a batch of soap!
5. Tips for cleaning silicone soap molds
Tips for cleaning silicone soap molds:
- Soak the mold in hot water and dishwashing liquid.
- Scrub away any remaining residue with a soft brush or your fingers.
- Rinse the mold with clean water and let it air dry.
- Inspect the mold before each use.
6. How to prevent bacteria growth in your soap molds
Bacteria growth can be a big problem for soap makers, as it can lead to all sorts of problems such as poor product quality and ruined molds. However, there are a few things that you can do to help prevent bacteria from growing in your soap molds.
The most important thing is to keep your molds clean and free of any residue or product. This means cleaning them after each use with warm soapy water, and giving them a deeper clean every few uses with bleach or rubbing alcohol. You should also inspect the molds before each use for any signs of bacteria growth.
Another way to prevent bacteria growth is by using sanitizing solutions like bleach or rubbing alcohol. These solutions will kill any bacteria that may be present in the molds. Simply mix up a solution of bleach and water (or rubbing alcohol and water) and soak the molds in it for a few minutes. Then rinse them off with clean water and let them air dry.
By following these simple tips, you can help prevent bacteria growth in your soap molds and keep your finished products looking their best! Thanks for reading and happy soap making!’]