How to Store Home Made Soap: Tips for Keeping It Fresh
You have a beautiful bar of soap that you made yourself, and now you want to know how long it will last. This is an important question for any soap maker! Soap can be stored in many different ways; some methods are better than others. In this blog post, we will talk about the best way to store your home made soap. We will also give you tips on how to keep it fresh so that you can enjoy it for as long as possible!
The way to store home made soap is in a cool, dark place ensuring different scented bars are not together. This process is after curing. The storage should also be away from moisture and humidity. When stored in a container, add a little extra scent to a small piece of cloth.
Understanding the expiration dates of your soap, especially organic creations, is important to ensure that it is either sold or used before it begins to move away from its best condition. It is fair to say that in most cases, hand made soap does not last as long as bar soap you might find in the supermarket or hardware store.
4 Fundamentals for Storing Soap
By following these four tips on storing soap, you will give your soap the best chance of lasting the longest time.
1. Store your soap in a cool, dry place
The best conditions for putting soap into storage through the curing process and beyond is a cool and dry place. A cool and dry place will keep your soap bars from sweating or becoming sticky. It is best to avoid storing it in a bathroom where there are more humidity levels because of the showers, as this can cause problems with mold growth on bars that sit out too long before being used up
2. Keep it away from direct sunlight and heat sources
Staying away from direct sunlight is a sensible option and hot temperatures will only contribute to the fresh soap becoming dry.
There are some exceptions, but in general, it is best not to be exposed for too long because of how heat can affect the product of saponification and cause a faster degradation process of your bars over time! This could also lead you into needing more additives such as essential oils or fragrances.
3. Wrap the bars individually with plastic wrap or put them inside a sealed plastic container to prevent exposure to air and excess moisture forms:
Storing in an airtight container with silica is advised and wrapping your soap individually can also help to keep the finished soap from drying out.
Wrapping will allow for a better seal, longer shelf life and prevent access to moisture which can cause mold growth! When wrapping, you want it tight enough so that there is no chance of any water seeping through but not too tightly as this may lead your bars into cracking or breaking in time. Humid Environments require special attention.
4. Avoid storing your soap near anything that is strong smelling, like onions or garlic
As well as ensuring you store different scented soaps away from each other, also consider what is nearby. For instance, if you’re storing your soap in the kitchen store it away from things like garlic or onions which produce strong smells and can permeate over time
It’s important that soaps are stored at room temperature when possible – although this isn’t always a practical option with some being better kept refrigerated than others.
The shelf life of homemade soap is about 6 months to a year
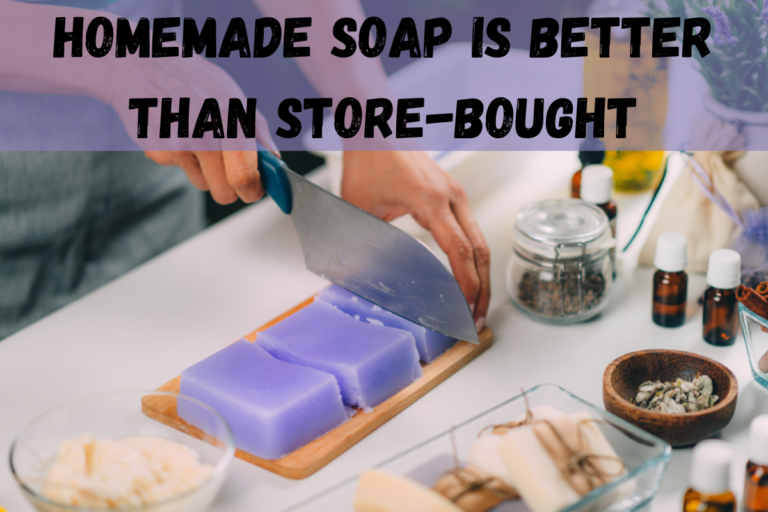
Whilst mass-produced soap you’d find on the shelves in the shop may last a couple of years before degrading homemade soap will last for only 6-12 months. This is because of the high-quality ingredients and lack of synthetic chemicals.
The shelf life can be extended by storing your soap in a cool, dry place like a closed container or jar that is airtight with lining to avoid excessive moisture getting into it which will break down the oils over time too quickly as well – you’ll need about 15-30% humidity for best results but even then there’s no guarantee how long homemade soaps last before degrading due mainly because they’re made from natural products, not chemical compounds (with all their very own properties).
If you are constantly getting new soaps or making new soaps yourself a good rule of thumb is to use the oldest soaps you have in your collection. This easily allows you to never have to stress about your soaps growing old and will have the best smells as you use them. Instead of your soaps getting worse as you use them, you’ll be able to always use the soaps at their best.
If you need a soap that has to last longer you should use fewer fats in your soaps and have the oil content exactly measured. Alternatively, you can use more synthetic preservatives to ensure that the soaps cannot get old as you use them. Usually, people will have their soaps wrapped to ensure that after curing for 4-6 weeks that contact with moisture can be avoided.
This is the only real way to ensure that your soaps last longer, as we make handmade soaps specifically to avoid all the artificial preservatives that are found in soaps bought at the store. If you heat your soap mixture a bit longer, use less organic matter, use less natural fats, then you will have a soap that can easily last a lot longer than most other handmade soaps.
Use Paper Towels or Wax Paper to Wrap or an Airtight Container.
If you have made a batch of soap and want to put some away for later while you use some, make sure the bars are not too big and are cut into smaller pieces.
Wrap them in paper towels or waxed papers to allow them some airflow.
To store in an airtight storage container, make sure the soap is cut into thin slices and that you use a lid on top of each layer so they can still breathe but not get too wet from being wrapped up for long periods (like months).
Cardboard Boxes are also good for any types of soap
Not Storing Soap Correctly Can Have Adverse Effects.
If soap is not stored properly, it can grow bacteria and become unsafe to use. Here are four things that could happen if not stored correctly or for too long, each of one becoming more undesirable than the last.
Mold:
The one thing you may never expect to be on or near your soap is mold, but as the soap starts to age, the mold will start to grow. This is because mold spores are everywhere and given the right environments and food they will grow on anything, including your handmade soaps.
Sweating:
This is the most common problem and the most frustrating to deal with, as the soap sweats little bubbles form on the surface and pops. Changing the texture, changing the look, and most importantly changing the viscosity of the soap from hard, to slimy.
Scent loss:
A much less common problem, but one nonetheless, the scented oils in the soap can easily become depleted, with many soaps suffering greatly as the soap ages in the wrong environment. Being careful not to get the soap wet or moist is the only way to ensure the soap is never going bad.
New rancid smell:
As the soap ages there is a new smell that may appear, one you never thought possible, the smell of rancid oils, as the soap becomes older and older you will find that some of the more natural materials are rotting inside the soap. This makes it entirely unusable.
Many times, people assume that the soaps they are using and storing will simply be fine no matter what, this comes from the manufactured soaps that may very well always be fine. However, handmade soaps are different and the ingredients in them are specifically meant not to damage the environment, which means the environment can break them down.
Home Made Soap Storage Summary
Storing your soap is one of the most important, and final steps of your experienced soap maker journey and you will greatly affect the overall image of the soap as you store them wrong. Making sure that your soaps are somewhere dry and safe will ensure that you and your family can enjoy them for many months more.
The goal of this article is to teach you how to store your handcrafted soaps for the best results. It has been noted that mold, sweating/losing scent along with rancid smells can happen if it’s stored wrong so be sure to use these tips for a long-lasting experience!
Keep in mind there will always things outside our control when making handmade body products such as weather conditions or bugs that may attack them while they’re drying but also remember those factors don’t change much from one day to another.
More reading
If you make and sell soaps and bath bombs, there are a couple of pages to consider all based around wrapping soaps and bath bombs for storage and sale purposes
How to Wrap Handmade Soap
How to wrap your handcrafted soap for storage and selling. Gift wrap ideas and more
How to Wrap bath Bombs
How to wrap your bath bombs and make them look great when selling. Shrinkwrap to organics and how to package your bath bombs for shipping too.